Wrench It Up > Academy > DIY > DIY Plumbing: Fixing A Leaky Faucet In 5 Simple Steps

A leaky faucet can be an annoying and wasteful problem in your home. Fortunately, fixing it yourself is a straightforward and cost-effective solution. With a few simple tools and some basic knowledge, you can stop the dripping and save on your water bill. The following five steps will guide you through the process of fixing a leaky faucet:
1.Turn off the water supply under the sink.
2.Remove the faucet handle by prying off the decorative cap and unscrewing the handle.
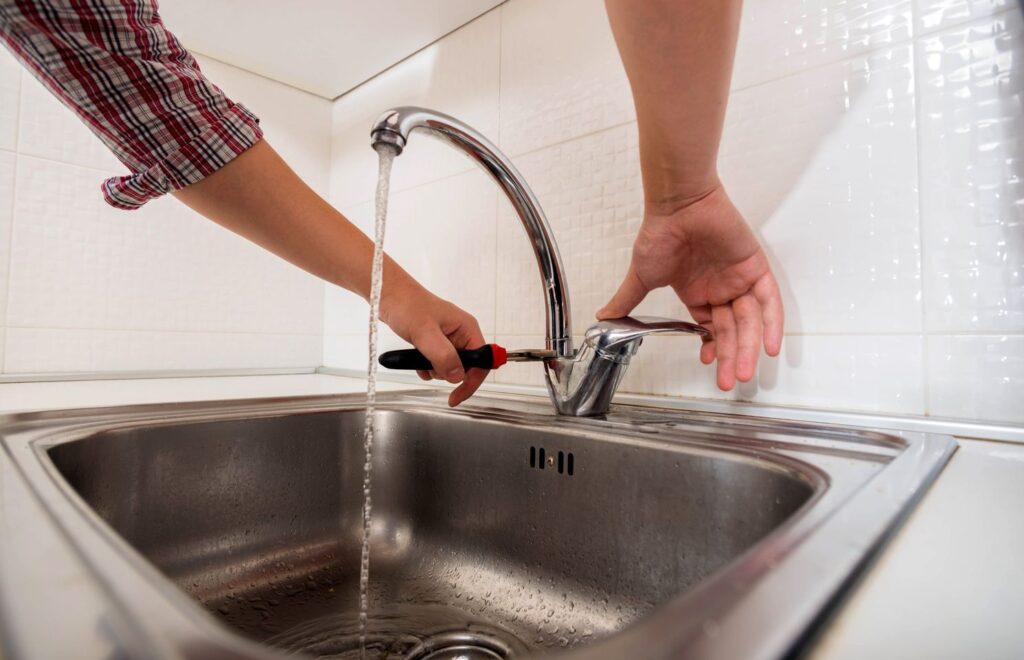
3.Use pliers or an adjustable wrench to loosen the packing nut and remove the stem.
4.Replace the old washer or O-ring with a new one and reassemble the faucet in reverse order.
5.Turn the water supply back on and test the faucet for leaks.
It is important to use caution and follow safety guidelines when working with plumbing fixtures. If you are unsure about any aspect of the process, consult a professional plumber. Regular maintenance and replacement of plumbing fixtures can help prevent future problems and prolong the life of your faucets.
In conclusion, by following these steps and exercising caution, you can successfully fix a leaky faucet yourself and save money on professional repairs.
If you may need to call a professional plumber in Toronto, we are here to help. Just give us a call now!
Wrench It Up – WIN YOUR HEART!
Subscribe to our newsletter to see the latest blogs
* By submission, you agree to receive email marketing from Wrench It Up plumbing and mechanical regarding our products and services.
If you are in need of an emergency plumbing service, please directly call us at 416-800-5050. We are 24/7 available throughout the year.