Wrench It Up > Academy > DIY > How To Fix A Leaking P-Trap Drain Assembly?

If you have a leaking p-trap drain assembly, do not worry, as fixing it is usually a straightforward process that you can do yourself. Here are the steps to follow:
1.Turn off the water supply to the affected drain. You can usually do this by turning the valve located under the sink.
2. Place a bucket under the p-trap to catch any water that may still be in the trap. This will prevent any water from spilling onto the floor.
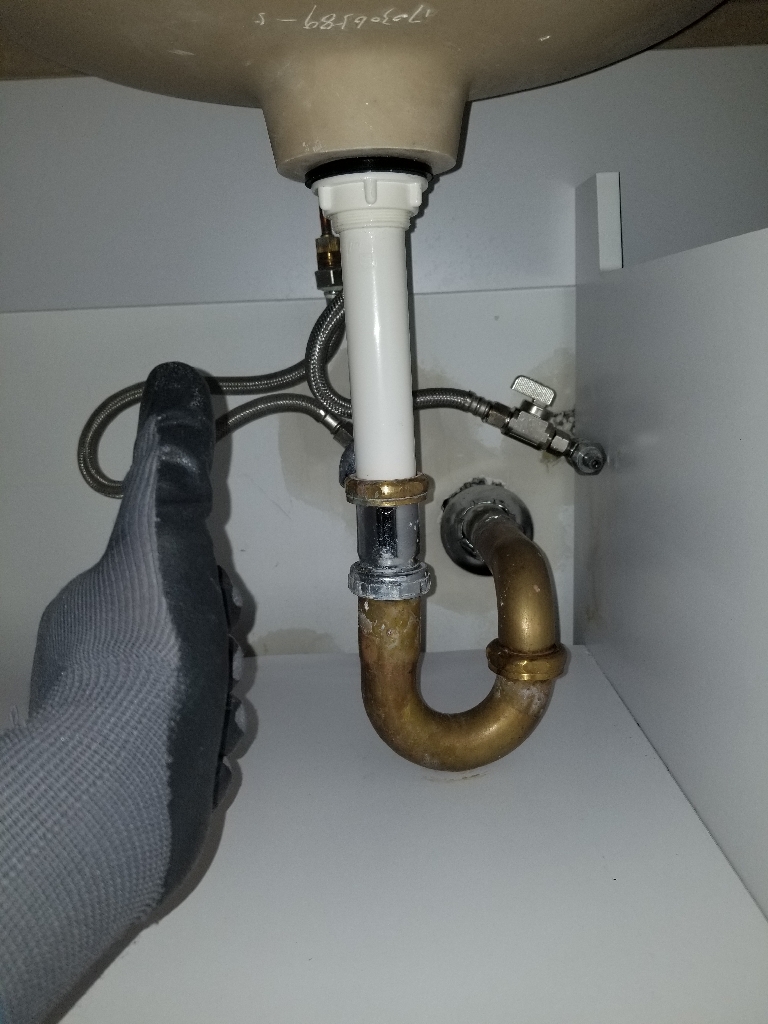
3. Loosen the slip nuts that hold the p-trap in place. Use a pair of pliers or a wrench to do this.
4. Remove the p-trap and inspect it for any damage, such as cracks or corrosion. If you notice any damage, you will need to replace the p-trap.
5. Clean the slip nuts and the threads of the drain pipe and tailpiece. Use a wire brush or a cloth to remove any dirt or debris.
6. Apply plumber’s tape to the threads of the drain pipe and tailpiece. This will help create a better seal and prevent leaks.
7. Install a new washer and gasket onto the slip nuts. Make sure they are properly aligned and tightened.
8. Reinstall the p-trap by sliding it onto the and tailpiece. Tighten the slip nuts by hand and then use pliers or a wrench to tighten them further.
9.Turn on the water supply and check for leaks. If there are no leaks, you have successfully fixed your leaking p-trap drain assembly.
By following these steps, you can easily fix a leaking p-trap drain assembly and prevent water damage and unpleasant odors in your home.
If you may need to call a professional plumber in Toronto, we are here to help. Just give us a call now!
Wrench It Up – WIN YOUR HEART!
Subscribe to our newsletter to see the latest blogs
* By submission, you agree to receive email marketing from Wrench It Up plumbing and mechanical regarding our products and services.
If you are in need of an emergency plumbing service, please directly call us at 416-800-5050. We are 24/7 available throughout the year.