Wrench It Up > Academy > DIY > How To Replace A Faucet Emergency Shut-off Valve?

Replacing a faucet emergency shut-off valve requires certain tools and steps. Before you start, it is important to make sure the water is completely turned off. The best way to do this is to locate the main shut-off valve for your house and turn it off.
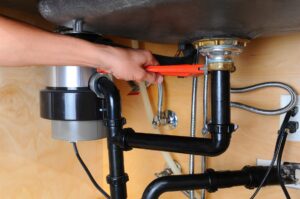
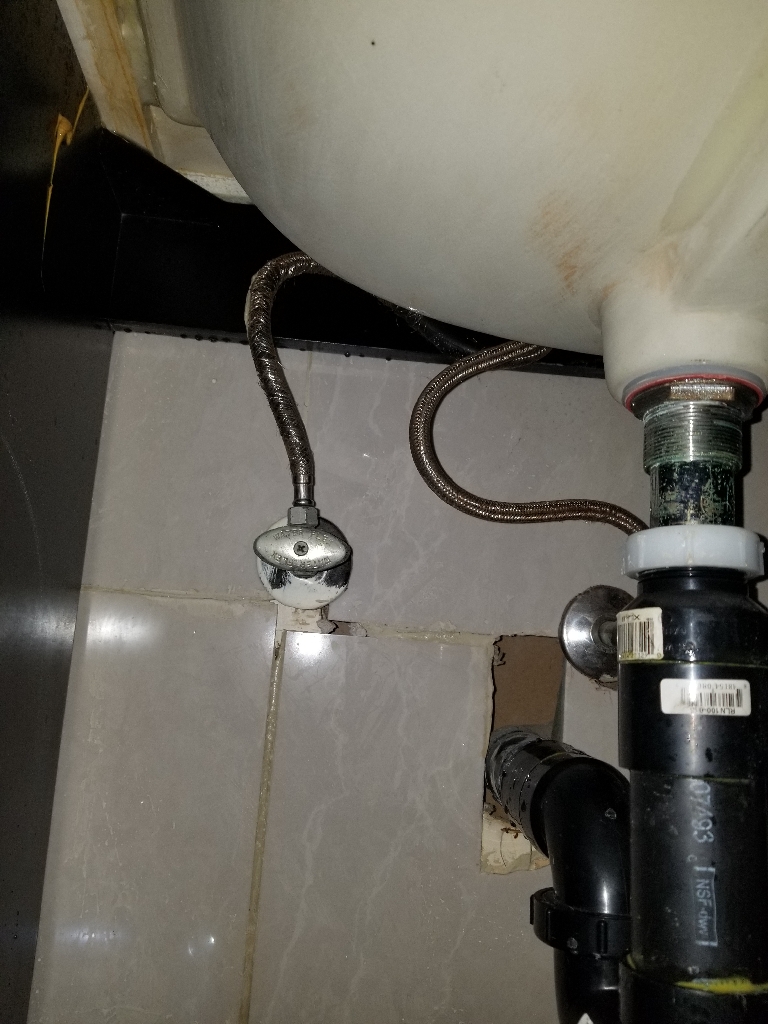
You will also need some basic plumbing tools such as adjustable pliers, a pipe wrench, and a screwdriver. To replace the emergency shut-off valve, you will need to begin by removing the old one. This is done by loosening the screws with adjustable pliers or a screwdriver, depending on your particular model. Once these are unscrewed, you can take out the old faucet emergency shut-off valve.
Once the old valve is removed, you can thread in the new one. This involves lining up the threads of the new valve with those on the piping and securely tightening it. Make sure not to over-tighten, as this could damage the valve or crack the pipe. Once secure, you can check for any leaks by turning on the water. If there are no leaks, then the job is complete and you can use your new emergency shut-off valve with confidence.
It is important to note that these steps must be completed carefully and with caution. By following these steps, you can successfully replace a faucet emergency shut-off valve in your home.
If you may need to call a professional plumber in Toronto, we are here to help. Just give us a call now!
Wrench It Up – WIN YOUR HEART!
Subscribe to our newsletter to see the latest blogs
* By submission, you agree to receive email marketing from Wrench It Up plumbing and mechanical regarding our products and services.
If you are in need of an emergency plumbing service, please directly call us at 416-800-5050. We are 24/7 available throughout the year.