Wrench It Up > Academy > DIY > How To Replace A Hose Bib Without Calling A Plumber?

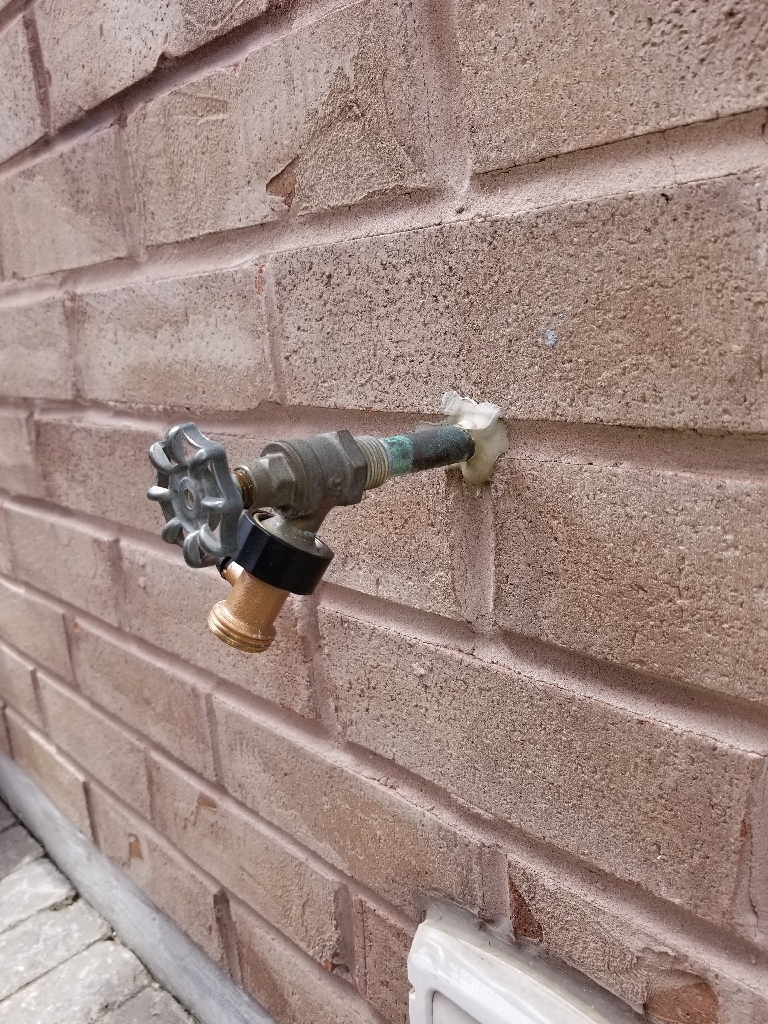
Replacing a hose bib requires some basic knowledge of plumbing and the correct tools. Before beginning the process, it is important to turn off water valve connected to the hose bib you are planning to replace.
Next, slide a basin wrench or an adjustable wrench on the pipe that connects the current hose bib to your house’s water system. If it is too tight to move by hand, you may need to use a pipe wrench and secure the nut in place with pliers. This will allow you to unscrew the current hose bib.
After unscrewing the current hose bib, clean off any debris on the surface of the pipe or around the threads and apply one or two coats of Teflon tape to ensure a watertight seal.
Now take your new hose bib and line up the holes in the male threads with the slots of the female pipe. Insert and twist your wrench onto the threads until it is completely secure, but not overly tightened. Doing this will prevent any leaks from occurring when you turn on the water valve.
Once your new hose bib is tightly secured, test it by slowly turning on the water valve. If you do not find any leaking, then it is safe to use. Enjoy your newly installed hose bib and be sure to keep an eye out for any potential leaks or issues in the future. It is always better to be safe than sorry!
If you may need to call a professional plumber in Toronto, we are here to help. Just give us a call now!
Wrench It Up – WIN YOUR HEART!
Subscribe to our newsletter to see the latest blogs
* By submission, you agree to receive email marketing from Wrench It Up plumbing and mechanical regarding our products and services.
If you are in need of an emergency plumbing service, please directly call us at 416-800-5050. We are 24/7 available throughout the year.