Wrench It Up > Academy > DIY > Replace A P-Trap By Yourself With These Simple Steps
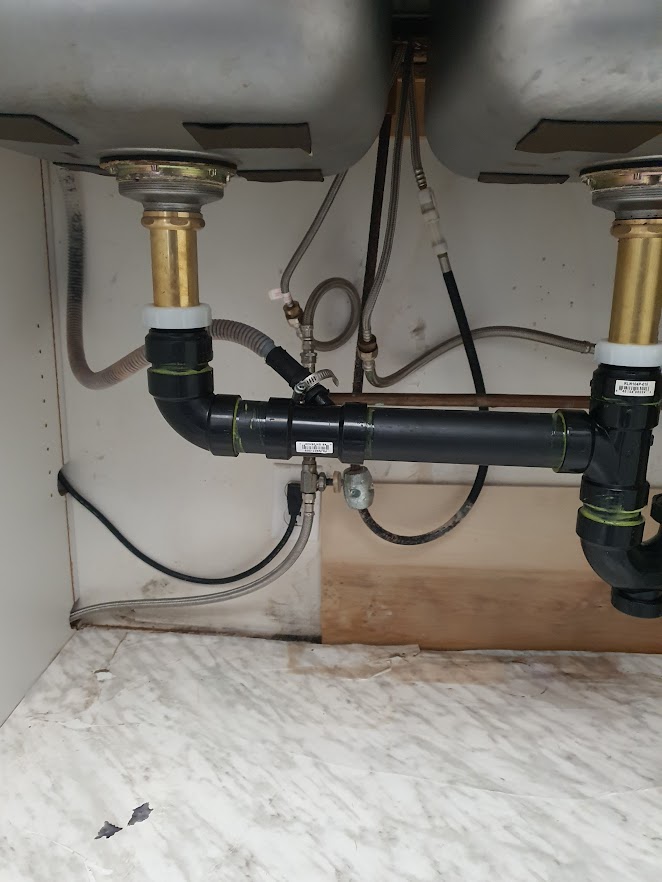
Once you have gathered the necessary materials and the replacement P-Trap, it is time to start working on your plumbing project. Here is a step-by-step guide on how to replace a P-Trap:
1. Shut off the water supply leading to your sink. This can be accomplished by either turning the shutoff valve beneath your sink, or by turning off the main water supply.
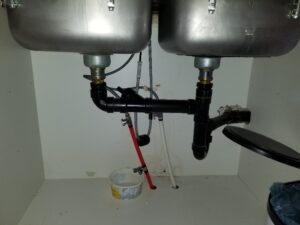
2. Disconnect the existing P-Trap from the drainpipe and tailpiece of your sink. To do this, you will need to unscrew the nuts that secure the pieces together using a pair of slip joint pliers.
3. Clean the threads of the drainpipe and tailpiece to ensure a strong seal when attaching the new P-Trap.
4. Insert the new P-Trap onto the drainpipe, and then secure it with two nuts. Make sure that they are firmly tightened using slip joint pliers.
5. Attach the tailpiece of the sink to the other end of the P-Trap, and then secure it with two nuts. Again, make sure that they are firmly tightened using slip joint pliers.
6. Turn on the water supply and check for any leaks from your newly installed P-Trap. If everything is sealed properly, you have successfully installed a new P-Trap!
If you may need to call a professional plumber in Toronto, we are here to help. Just give us a call now!
Wrench It Up – WIN YOUR HEART!
Subscribe to our newsletter to see the latest blogs
Installing
* By submission, you agree to receive email marketing from Wrench It Up plumbing and mechanical regarding our products and services.
If you are in need of an emergency plumbing service, please directly call us at 416-800-5050. We are 24/7 available throughout the year.