Wrench It Up > Academy > DIY > Replace A Toilet Shut Off Valve

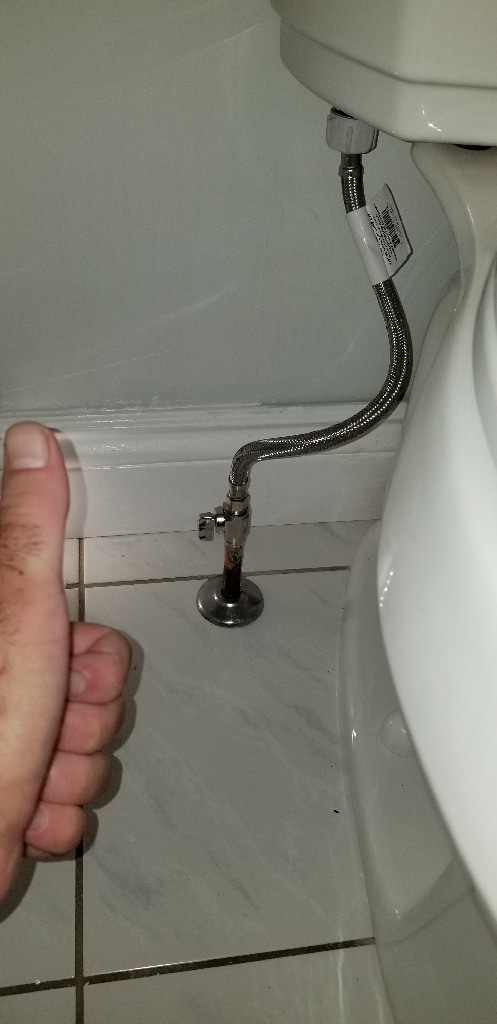
If your toilet shut off valve is leaking, it is time to replace it. This do-it-yourself guide will show you how to replace a toilet shut off valve in just a few simple steps.
1. Turn off the water supply to the toilet.
2. Flush the toilet to empty the tank.
3. Disconnect the water supply line from the shut off valve.
4. Remove the old shut off valve by unscrewing it from the wall.
5. Install the new shut off valve by screwing it into the wall.
6. Reconnect the water supply line to the new shut off valve.
7. Turn on the water supply and flush the toilet to check for leaks.
Replacing a toilet shut off valve is a simple do-it-yourself project that anyone can do. With just a few tools and supplies, you can have your toilet up and running in no time.
If you may need to call a professional plumber in Toronto, we are here to help.
Wrench It Up – WIN YOUR HEART
Subscribe to our newsletter to see the latest blogs
* By submission, you agree to receive email marketing from Wrench It Up plumbing and mechanical regarding our products and services.
If you are in need of an emergency plumbing service, please directly call us at 416-800-5050. We are 24/7 available throughout the year.